Do you want to change the DNS settings of your Namecheap account? Follow this simple steps to learn how to manage Basic DNS for your domain. If you have bought a domain from Namecheap and wanted to host/point it on external server then you will have to update the DNS. Let’s find out how to manage it less than 1 minute:
Steps to Change Nameserver on your Namecheap Account
1) Type Namecheap.com on Chrome and hit Enter.
2) Click on SIGN IN option located on top left-hand-side.

3) A small pop-up login page will open, enter your Username and Password and click on Sign In.
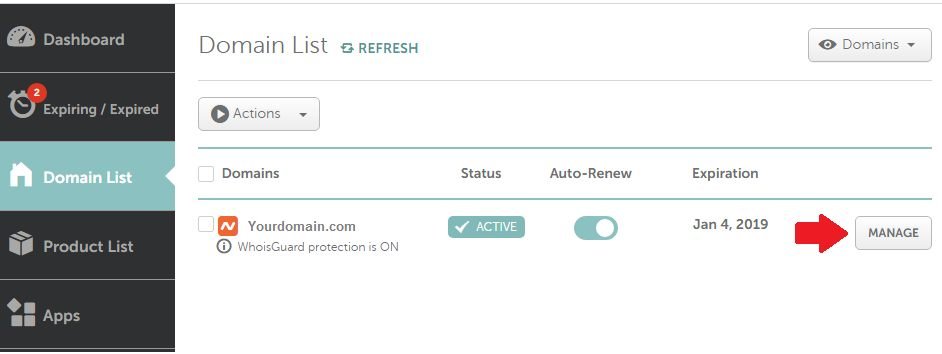
4) After successful login, click on “Domain list” located on left-hand-side of the page.

5) Now, Domain list page will open, click on Manage button beside your domain, as shown in below image:
6) Just beside Nameservers option, choose Custom DNS from drop down menu:
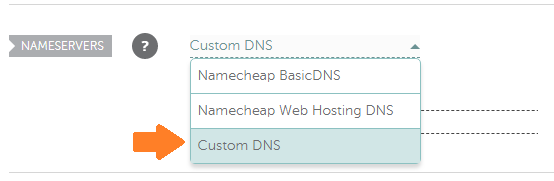
7) Enter your DNS name on provided Nameserver 1 and Nameserver 2 filed and click on tick mark button.

It’s done!! It will take about 1-2 hours to propagate domain globally.
Doing this way, you can easily update the DNS on your Namecheap account.